Sunday, December 1, 2013

I've Moved!...

Feathering My Nest has moved!... come check all of this out over at www.featheringmynest.ca/blog

Hi There!... are you checking in to see what's up?... what's new?... what's happening?... 
Well I've moved!... 

Take a pop on over to my new digs!... let me know what you think!...

www.featheringmynest.ca/blog

Can't wait to see you there!


xo

Lacey

Thursday, November 14, 2013

Christmas Market Success...

Feathering My Nest has moved!... come check all of this out over at www.featheringmynest.ca/blog

So this past weekend I took part in a local vintage Christmas market with 20 other vendors!... the first annual Vintage with Flair Christmas Market... It was quite a success so I expect it will be taking place again next November...


I wasn't sure how it would go as 90% of the vendors items were mixed together throughout the venue... would things fit?... would it all set up together and flow?... there were a few individual vendors who, because they were selling smaller jewellery pieces, had their own spaces and they also took payment for their items right in their "booths"...  but everything else was running through a central cash area...


It was a little nerve-wracking setting up... not knowing... really knowing... the other vendors... moving vendors items around during setup... placing peoples items... everyone has their own way... ideas about how they like their pieces to look... to be displayed... I had to shuffle a few things here and there throughout the day to be sure that some of my pieces were being seen... there was so much at the start of the day it was easy for pieces to get lost in there!... 

For most of the day I manned the cupcake table... it was a nice way to chat with the shoppers... and man where their shoppers!?... the first two hours were B-A-N-A-N-A-S... and then the rest of the day it was steady with treasure hunters...


The lineup to get checked out in the first hour went down one wall... turned at the corner... and then up the length other wall!... luckily the lineup moved very swiftly... the ladies taking payment and packing up treasures were amazing on Saturday... I'm sure they must still be recovering!...

I had some very Christmassy items... narcissus bulbs in jars... giant lux paper wreaths... buntings and garlands... 


...and vintage jar snow globes... THOSE MOVED FAST!... I know it's obvious that people will be looking for Christmas items at a Christmas market but these items really disappeared right away... I was legit surprised how quickly they got scooped up!... 


I did learn that other "non Christmas" plants at a Christmas market just don't really move... they're much better suited for Spring and Summer events... Noted folks!... more narcissus next year ;)


The couple of furniture pieces that I brought were a hit as well... My first item to go was the tea trolly!... and of course the chalkboards and chalkboard trays... the window chalkboards seem to be a harder sell... 


I'm not sure if they're harder to picture in one's nest?... they're a little less ordinary than a gold framed chalkboard... 


One thing that I think really helped with the chalk boards was to have them chalked up with sweet sayings... and seasonal greetings!... 


...really showing people what they can do with these reloved pieces!... what do you think?


Now that the event is over I've got a few of the final items upon the Feathering My Nest Facebook page...  as I'm clearing out the last few items that I currently have on hand to make way for the new... Things are moving quick on there now so pop over and check out the sales!...


There are so many more items that I wanted to make for this past weekend's event but time just did not allow it... I just had to get some sleep... and well working for the man burns up about 9 hours every weekday!... ha!... so be prepared to see a ton of goodies at my solo sale in March!... yep... and stay tuned for details and sneaky peaks of the pieces that will be available at that event!...


Were you at the Christmas Market in Red Deer Lake this past weekend?  What did you think?  Are there things you would improve?... Things that you really liked?... Things you would like to see more of at an event like this?... Things you would like to see less of?... let it rip folks!... these events are for you and we're here to give you what you are looking for to feather your nests!...

Looking forward to hearing your thoughts!...
xo
Lacey

Sunday, November 3, 2013

Sparkly Sea Urchins...

Feathering My Nest has moved!... come check all of this out over at www.featheringmynest.ca/blog

Here's a quick little tute for you on this snowy Sunday while I wait for paint to dry on a dresser that I'm in the process of repainting... I have a pile of sea urchin shells... sans spikes.... that I'd collected while back home on various trips to Newfoundland...  and it hit me the other day to glitter them!...

No urchins were harmed... by me... in the making of these sparkly little treasures!... You see... seagulls pickup the live urchins from the shoreline... carry them up onto the marshy cliff tops and peck out the tasty morsel inside... EW!... the sun dries them out and BAM!... THEY'RE ALL MINE...


This one is another one of those easy quick little projects that you can bang out quickly... so quickly that you won't make it through one full glass of bubbles before you're done!... ;)


So there are a couple of ways that you can paint sea urchins... spray painting is one option if you have a large number to do... or with some craft paint and a soft paint brush... don't be rough with the shells... they are delicate...


For this project I opted for a very fine glitter and of a good clear glue... Check out what Martha Stewart has to offer... there is a lot of choice!... With a thicker glitter like the German Glass Glitter you would lose the details of the urchin shells... though it may be a neat look it wasn't the one that I wanted this time... 

Use a resealable container when you're glittering... this way you contained the mess sparkly magic while you're sprinkling... after the base coat of paint has dried lightly apply glue to the urchin... I brushed glue onto 1/3 of the urchin at a time... lightly glue then glitter... lightly glue then glitter... lightly glue then glitter... aaaand you're done!...


To test out this project I started with just two urchins and white iridescent glitter... they're pinky and green looking depending on the angle of the light... I'm whipping up a batch of these this evening for the Vintage with Flair sale this coming Saturday!... it's sooo close now!... 


I'm going to give them a spin in fine silver glitter... I'll post a few shots after they're done tonight... if you give this a try let me know how it works out!...

xo
Lacey


Wednesday, October 30, 2013

It's The Little Things...

Feathering My Nest has moved!... come check all of this out over at www.featheringmynest.ca/blog

Sometimes a quick little project is a nice pick me up... not TOO much mess created... cleanup is easy... all materials are on hand... and there are no loose ends after you've cleaned up your mess (of fake snow)... 


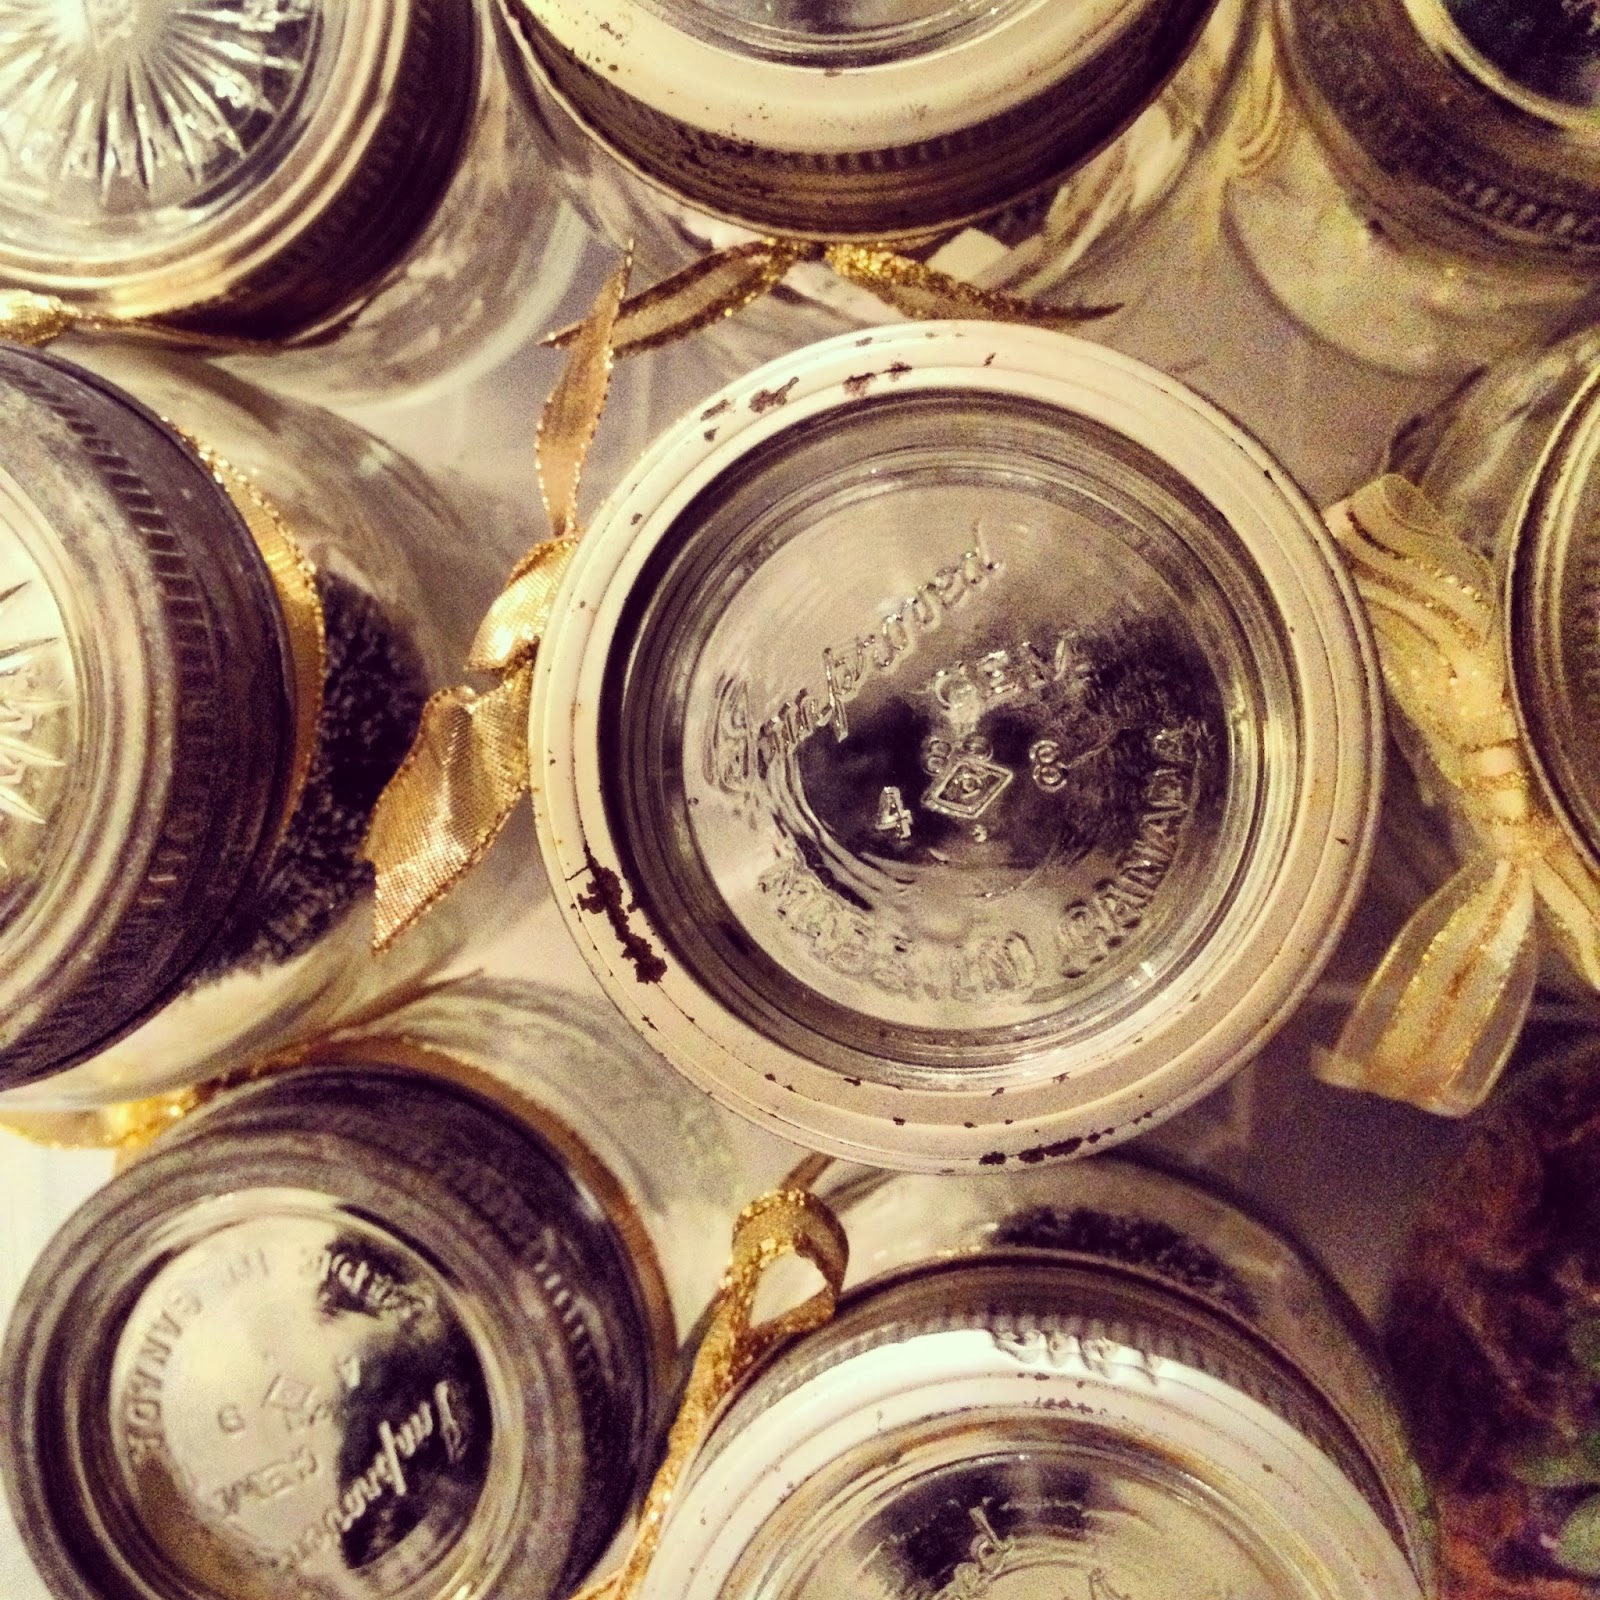
Last night my little project pick me up came together quite nicely... I had many glass top jars on hand that I've been collecting now for the past while... gold ribbon... check!... fake snow... check!... glitter... check!... mini Christmas trees... check!... I was good to go!


After washing and thoroughly drying the jars I dumped in a little fake snow... you know that fake snow that looks like shredded plastic?... yep... that!... but just that by itself wasn't doing it for me... I sprinkled in a little Martha Stewart glitter and POP!... just the little bit of sparkle it needed... Then I dropped in a couple of trees... on with the lid and a little gold bow or knot and I had a collection of these vintage jar snow globes in no time!...  

You'll find these little vintage jar snow globes at the Vintage with Flair Christmas Market  in just a couple weeks time!... :)

xo
Lacey


Monday, October 28, 2013

Break Weekend...

Feathering My Nest has moved!... come check all of this out over at www.featheringmynest.ca/blog

Really could have used this weekend to finish a few projects for the Vintage with Flair Christmas Market that is coming up quick... BUT I didn't... I took a break from making anything and had a total lazy weekend with Pickly... and Saturday night I went out dancing with my lovely friend Jan... 


Did you do partake in any Halloween festivities this weekend?...

We had a ton of fun... five hours of dancing... one of my toes is still numb... yep...  we DANCED!... haha...

Now it's back to working on pieces for the Christmas market... after I finish my work days of "workin for the man"... This week of evenings will be filled with glitter, paint, fake snow and late nights... this weekend too... I aim to have everything wrapped up and ready to be packed up Sunday evening as if it's being delivered and setup on Monday... I'ma need next week to get my house ready for my parent's visit starting on November 8!...   

Here are a couple of wreaths that require some finishing touches... just some neat backing and a little ribbon to dress them up for the holidays...


I'm hooked on huge papery wreaths at the moment!... I'm going to have to make one for us for the house!... This white one is made from about 600 large coffee filters and a pool noodle... hehehe... 


I've got a couple garlands/buntings done too that will be coming to the sale on November 9... this sweet one below is made with handmade pompoms that have been cut down to produce dense little snowballs... then I threaded them onto some red and white bakers twine!... it's so sweet in person!...  I have poms enough to make a second one for the sale!... I will have very limited amounts of everything!... 


Stay tuned for a few more sneaky peaks of items that I will be bringing to the Vintage with Flair Christmas Market!... or check out Feathering My Nest on Facebook!

xo
Lacey


Thursday, October 24, 2013

FATTY FATTY FAT FAT Paint!... Coffee Table Relovin...

Feathering My Nest has moved!... come check all of this out over at www.featheringmynest.ca/blog


I'm in love!... it's a uber thick chalk paint... it's CANADIAN made!... this is awesome!... I can use a paint product that I love AND support this amazing little Canadian company :)
Have you heard of FAT Paint?  Have you tried it?  What do you think?


...it's low VOC... not smelly at all... you don't NEED to strip the thing that you are going to paint so usually minimal prep is required... although it's always good to do a little test patch if you want to be sure how it will adhere... I've not had any issues yet... it always sticks!... Once painted you can just lightly sand to remove the brush strokes to have a nice solid painted piece... or sand a little more to distress the finish... it sands so easily and beautifully... and THICK!... omg!... two good coats of paint and BAM!... it's solid!...


I chose the colour jute for this coffee table refinish... I love the names of the colours... the colour names punch me right in the heart... sea glass green... ocean spray... Ooooh how I miss the ocean...  


Last Saturday I decided to tackle this coffee tablet that'd been sitting in the basement for over 8 months... yeah I know... I got two coats on... and gave it a light sanding all over... yeah see that picture above where the table legs are sitting on little squares of cardbaord... my dining area is currently my painting area... I have a very patient and understanding furbear who puts up with the house all cluttered up with extra furniture!.. I even sanded this inside... I had the vacuum on while I sanded and ended up with no dusty mess when I was done!... It worked like a charm... it really was too chilly to head outside to sand this one down...


After sanding it got a nice coat of clear wax in preparation for the mixed dark wax... I've made a jar of half dark / half clear wax for lighter items like this table... this way I avoid streaky stained messes of going at it with straight dark wax... I've fallen in love with this coffee table now that it's been sitting in our living room since last Saturday... but she's destined for the Vintage with Flair Christmas Market that is quickly approaching!... 

Oh and here is a sneaky peak of a countdown cubby that I've built and painted... and dark waxed!... I went at this one with one layer of clear and then straight dark after to give it a little bit more of a dirty old look... this little beauty will be debuting to the Christmas Market as well... she just needs a little more work and she'll be done...


The end of working for the man today can't come quick enough!... I just want to get home and get working on projects!... and tomorrow is my EDO so I get three full days this weekend of project work time! :)   Welll two and three quarters... Jan and I are going out dancing Saturday night... WEEEE!... We've not been out dancing together since July!... look out feet you've got some serious work to do!... hehehe... what are you getting up to this weekend?...

xo
Lacey

Tuesday, October 22, 2013

Vintage Look Christmas Trees...

Feathering My Nest has moved!... come check all of this out over at www.featheringmynest.ca/blog

I love the look of things vintage... old... worn... tattered... yellowed with time... I've been seeing these bottle brush trees... I've been seeing vintage looking trees apparently made out of bottle brushes... after some investigating googling I found that these were easy to make!...


I really didn't think it was going to work... but it did!... go buy a bag of little Christmas trees from your nearest craft/Christmas supply store... 


Then get yourself some bleach... I used the regular liquid bleach... not the thicker 'he' stuff... I think I made a mix of about two thirds water and one third bleach... in a glass container... 


...got some tongs and started dipping...  INCREDIBLE!... it worked... seriously I didn't think it would!


You'll know pretty quick if you need to add more bleach to speed up the process...


Once they came out I gave them a good rinse in the sink... I did all of this in the sink in case of drips or splashes... The fake snow on the trees comes off - don't worry... unless you wanted it there... then you're going to have to redress the trees with some thick paint... 


Then the dying part... honestly I didn't think this was really going to work either... haha... I used the same glass container because I knew the trees would fit... put in some water and then spooned in RIT dye... I'd chosen a light pink... I think I'd used only two tablespoons MAYBE... you don't need a lot!... and you can always add more if you'd like them to be darker!... 


I went for a sweet light pink look...and gave them a good rinse when they came out of the jar of dye... I let them dry out overnight... in the pantry where the kitties couldn't get at them of course...

After they were good and dry I got a hair comb and gave them a good comb out!... hehehe "what'd you do this weekend Lacey"... "Oh combed out some Christmas trees!..." hehehe....


Then to add an extra vintage looking touch I busted out the German glass glitter that I'd picked up at the Farm Chicks sale two years ago!...  I knew I would find the perfect use for it...


A little clearglue action with a paintbrush and then a little glitter shake shake and BAM!


...be sure to sprinkle your glass glitter over a container that you keep as your glass glitter container... this glitter is sharp!... I had some glued to my hand and then rubbed my hand across my face... um... ouch... it sucked...


The finished trees turned out so sweet!... the German glass glitter really was the cherry on the top of this vintage sundae!... there is something hearty about the glass glitter...  


I've got two sets for setting up during the Christmas season... they will be at the Vintage with Flair Christmas Market...


Aaaand... I made these snow globe like corked jars!... They now have a gold sparkly ribbon tied around the tops to make them a little more Christmassy... Can't wait to see how they go over!... 


I was half worried that you wouldn't see the bases in the faux snow at the bottom of the jars but the glass glitter just shines through!

Here are a few more close ups...


xo
Lacey

What have you been up to?...

Feathering My Nest has moved!... come check all of this out over at www.featheringmynest.ca/blog

Hey!... how've you been?... it's been a little while... I've been working myself silly getting pieces ready for the group Vintage with Flair Christmas Market... and a little work on the www.featheringmynest.ca website... it is still in progress... I'm really hoping to have it up and running by the show on November 9th... if not my facebook page is up and going...


Fall has hit really quickly here... a little too quickly... and it's a little too cold... well except this week so far has been really nice... and well we get lots of sunshine so I won't complain too much... I love fall... when it's not too cold!  ahhaaha... layers and legwarmers... snuggly comfort clothing... 


Besides working on things for the show the Pickle and I have been chilling out quite a bit in the evenings and on the weekends... Walking Dead, movies, bubbly... 


...OH!... and karaoke at the neibs house... sweet jesus I'm quitting my day job and I'm become a professional karaoke-er!... hehehe... so much fun... 


And of course as always... lots of snuggles with these two little furbabies... 


Falling into fall quite nicely...
I hope you've been well!...

xo
Lacey